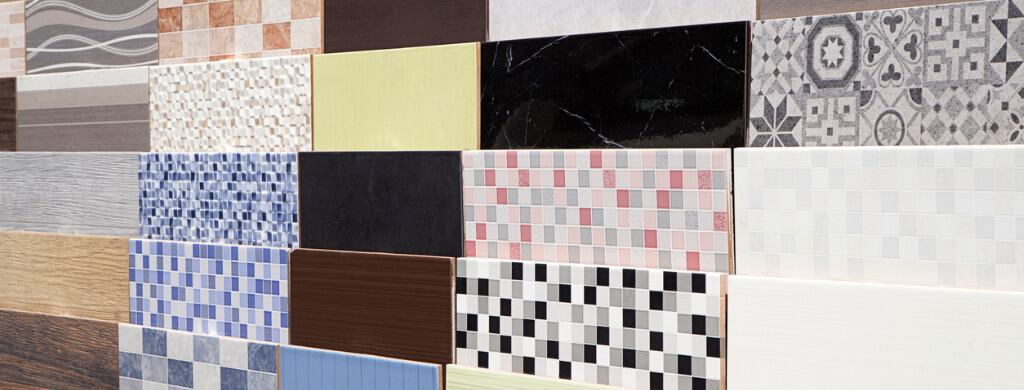
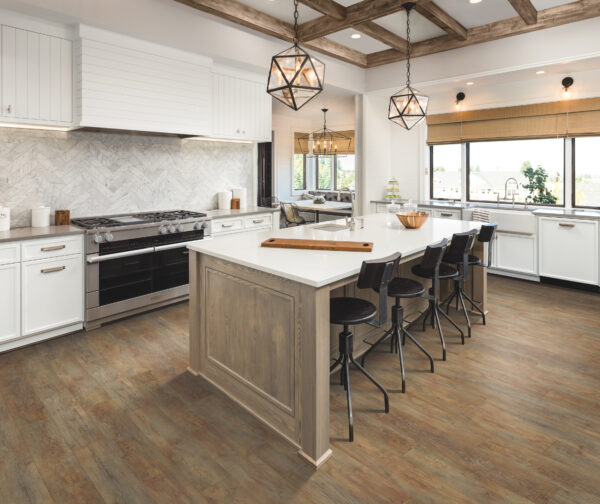
Flooring tiles are one of the most versatile floor covering options on the market. Tile comes in so many shapes, sizes, colours, tile patterns and textures, making it a great solution for any room in your home, especially kitchens and bathrooms.
The beauty of tile flooring is that because of their inherent geometric shapes, you have tons of layout and pattern options to be creative with. With the return of patterned flooring layouts in the past several years, you’ll start to see more modern, updated versions of the good old, 1980’s parquet flooring. To get you on the right track, here is your guide to seven basic flooring tile patterns.
Grid Pattern
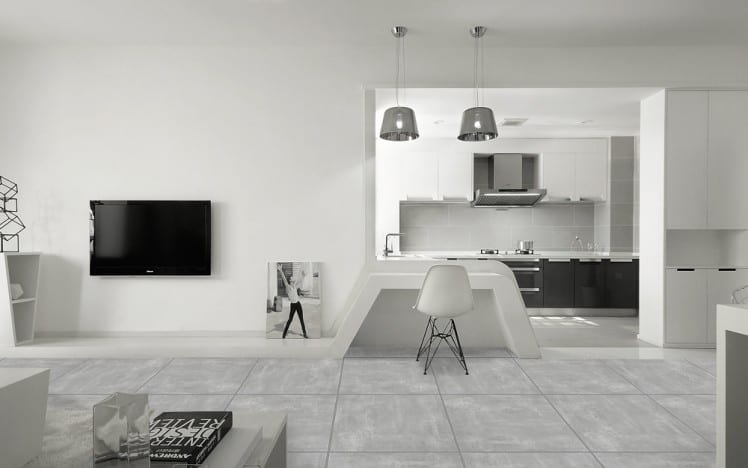
The grid pattern is the most common, simple and cost-effective choice. To achieve this look is quite easy, simply line up the edge of the tile with the walls. This is the perfect pattern if you don’t want to draw too much attention to your floor and wish to save money on materials, as there is little to not cutting of tiles involved and therefore little waste.
Some tips to achieve a more eye-catching look using this simple pattern is to use a contrasting grout to highlight the pattern or alternate colour tiles to add another layer and texture. If you don’t wish to draw as much attention to your floor, try using encaustic cement tiles, which have their own inherent pattern.
Offset Pattern
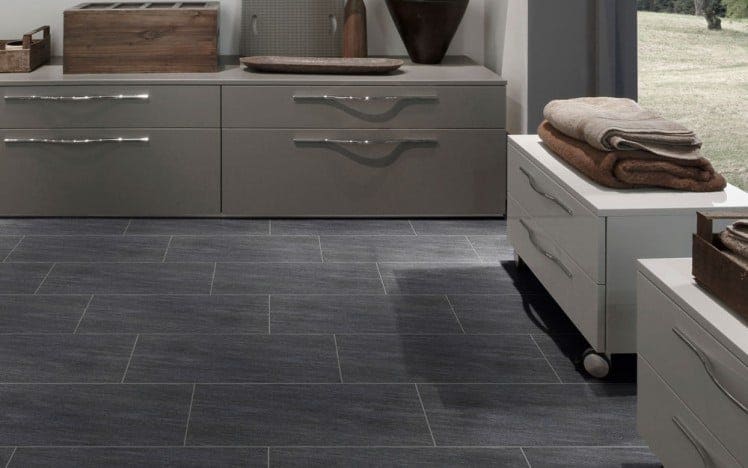
The offset pattern can also be known as Running Bond or Runner Pattern and is the next easiest tile pattern to lay. It is similar to laying bricks, simply lay the first row of tiles and then instead of laying the second row directly inline with the first, offset the second row so the corner of the tile sits at the centre-point of the one above.
The benefit to the offset pattern is it creates extra texture; however, it helps soften the space – particularly in kitchens where appliances and cabinets make the room look sharp and angular. We also recommend using this pattern when using ceramic planks with a wood-look, as it better mimics real wood floorboards. In this case, instead of aligning the second row of tile with the centre point of the first, aim to offset one third down the length of the plank or for a more authentic look choose random offsets for each row of planks.
Harlequin Pattern
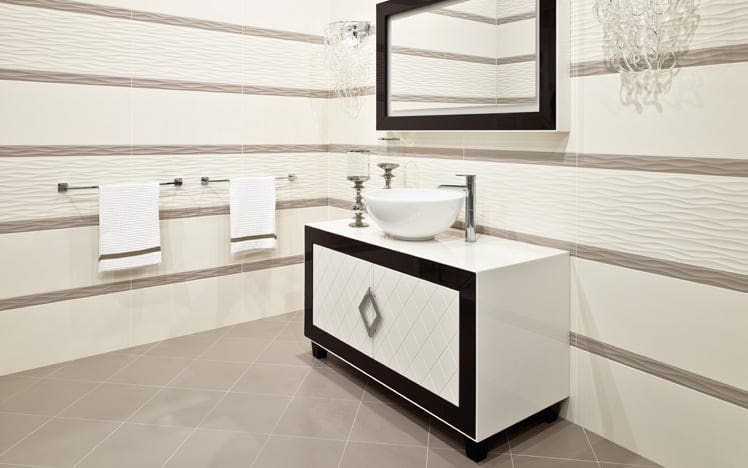
The harlequin pattern is simply a grid but set on a diagonal. It is created by placing the tiles at a 45° angel to the wall. Square tiles are almost exclusively used to create this layout pattern as well as, the most common colour scheme is black and white to recreate the classic checkerboard look. However, one single tile colour works just as well. The harlequin layout helps make a room seem larger than it is by giving an illusion of greater space. This pattern also helps to pull focus to a room with unconventional shapes.
Herringbone Tile Pattern
In the world of hardwood flooring, the herringbone pattern is one of the favourites and it is becoming more and more popular amongst tile enthusiasts, proving it is here to stay. In fact, many tile manufactures are introducing rectangular and short style planks to the market to help home owners create the herringbone look. To get this iconic pattern lay interlocking rectangular tiles and setting them at a 45° angel to the wall. To maximize the effect the pattern is laid length-ways along the longest wall and looks absolutely stunning in long entryways, hallways and bathrooms.
Note: the size and style of the tiles can result in a more obvious or subtler herringbone pattern. Plank-style tiles with a ratio of 3:1 will create a crisper, more defined pattern. For an even more defined pattern use a darker grout. If you would like a less obvious and defined herringbone pattern use a brick-style tile with a ratio of 2:1. Either or the herringbone pattern adds texture, interest and depth to your floor.
Chevron Pattern
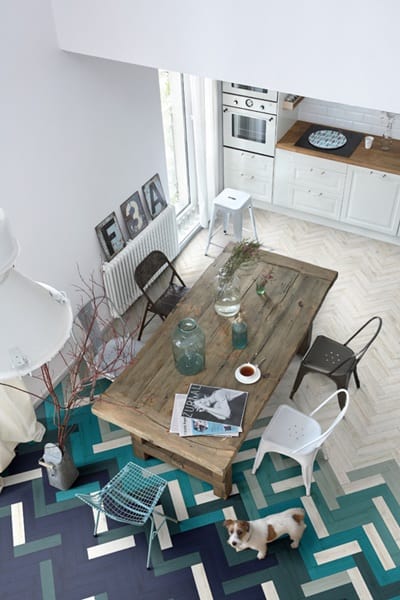
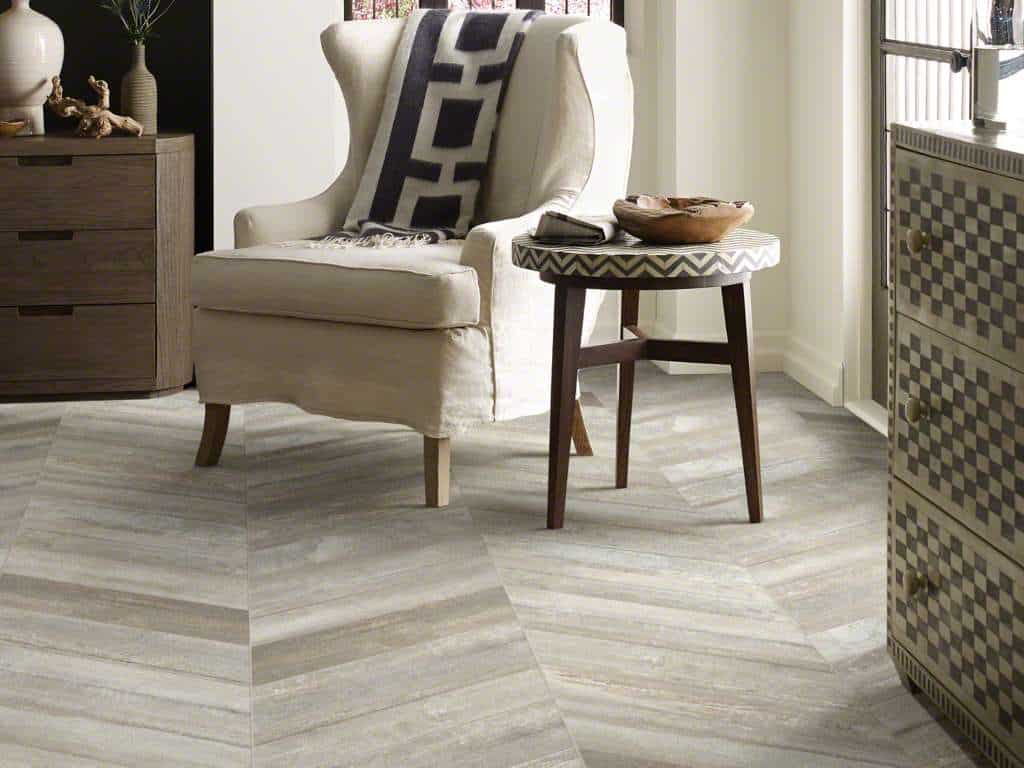
Herringbones close relative, Chevron is currently trending in the floor industry as it is not only eye catching but has the ability to instantly transform a room with its modern and chic look. Just like its relative, tile manufacturers have started producing tiles in the parallelogram shape, which is needed to create the chevron look. If the tile you like does not come in the parallelogram shape, then you can cut rectangular tiles to the fit the pattern. Ensure a high-quality tile cutter is used to get the job done right.
As mentioned above, to create this layout pattern, parallelogram tiles are needed. The layout is simply rows of these tiles, with each row facing the opposite direction to the one next to it, which will create a V shape. The way the different elements and textures work together in this layout creates an ultra chic look. From the way the tiles neatly fit together, the sharp central line where the V meets, and the textured zigzag makes for very eye-catching tile patterns.
Basketweave Pattern
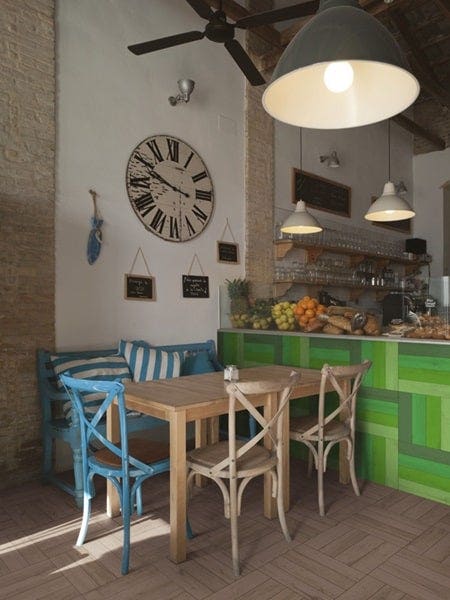
The most traditional layout of this pattern is when two brick shaped tiles are set horizontally against another two brisk shaped tiles set vertically. Today, however everyone has their own version of the basketweave. This simple layout creates great texture without too much effort.
The other version of the traditional basketweave, which is a bit more labour intensive but adds more texture, is when brick-shaped tiles are set in an interlocking pattern with smaller square tiles filling the space in between. For easier installation, some tile manufacturers have mosaic basketweave tiles pre-attached to a mesh backing.
Hopscotch Pattern
The hopscotch pattern can also be referred to as the pinwheel and is similar to the windmill pattern. Instead however, the hopscotch layout only uses square tiles, large and small. A small square tile is surrounded by larger square tiles. Hopscotch can have many effects and it all depends on if you wish to highlight and feature the small center tile, which adds contrast, whereas if you want to add texture to the visual field use the same tile throughout.
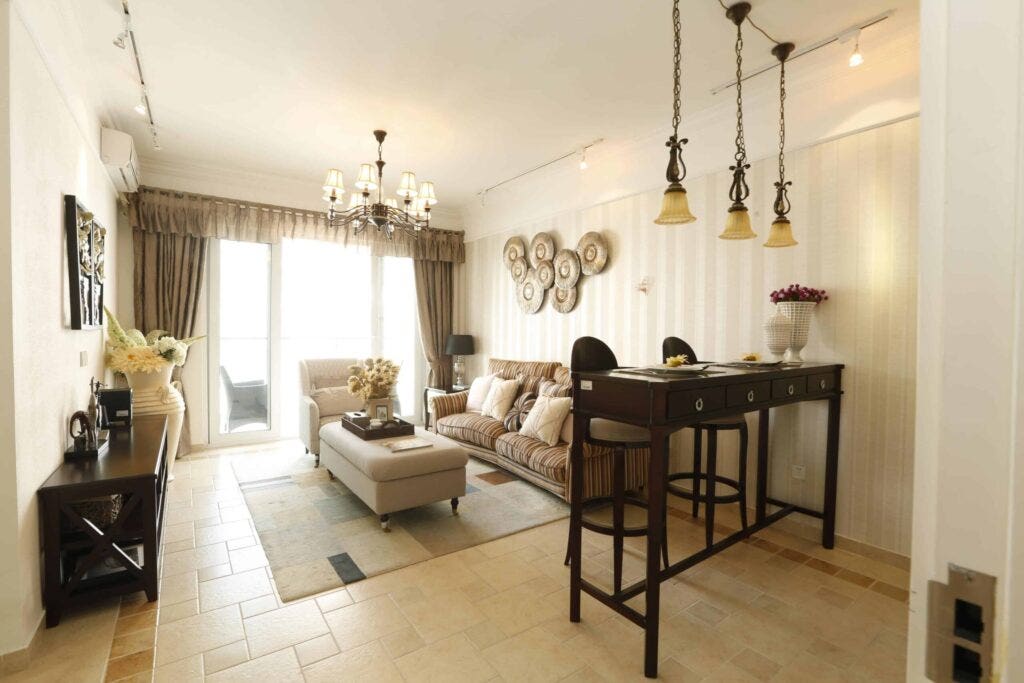
Patterns are no longer just reserved for walls and backsplashes! Unique, geometric floor tiles can be a great addition to your home, so don’t be afraid to be creative and customize your layouts.
Visit our inspiration page to browse ideas by room or by floor type! If you have any questions about tile patterns or flooring in general, be sure to reach out, stop by one of our locations or request a free estimate. We’re here to help.

